


Hi Everyone, In This Blog, I will show you how I Create a UI/UX Design on Figma from start to finish.
Prerequisites for creating a design on Figma
Have a PC/Laptop.
Have a Browser/Figma application on your pc/laptop.
Have a Figma Account.
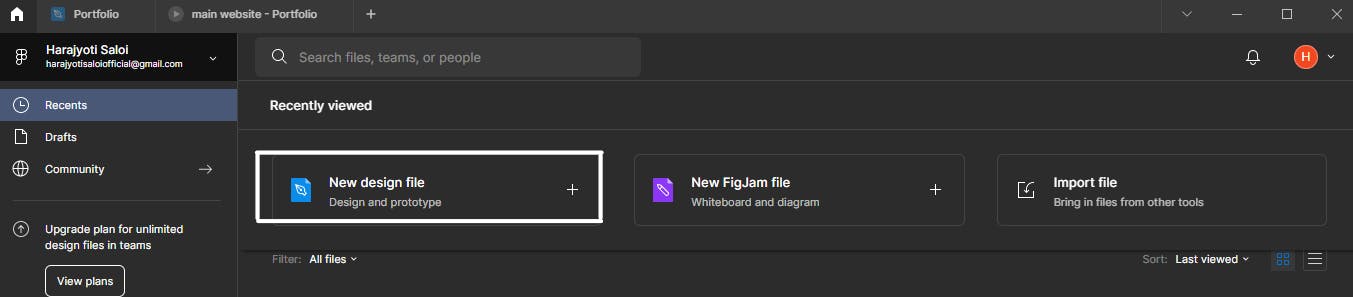
Now open Figma website/ Figma Application

Step 1: Click on the new design file
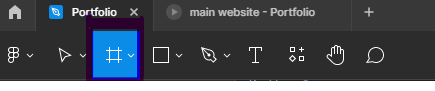
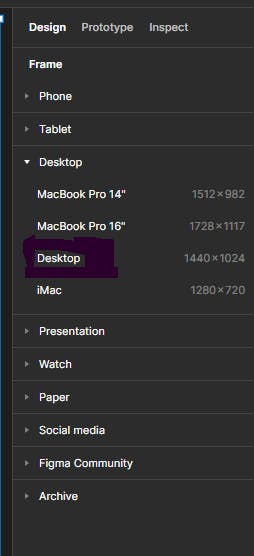
Step 2: Click on the frame button
then select the frame
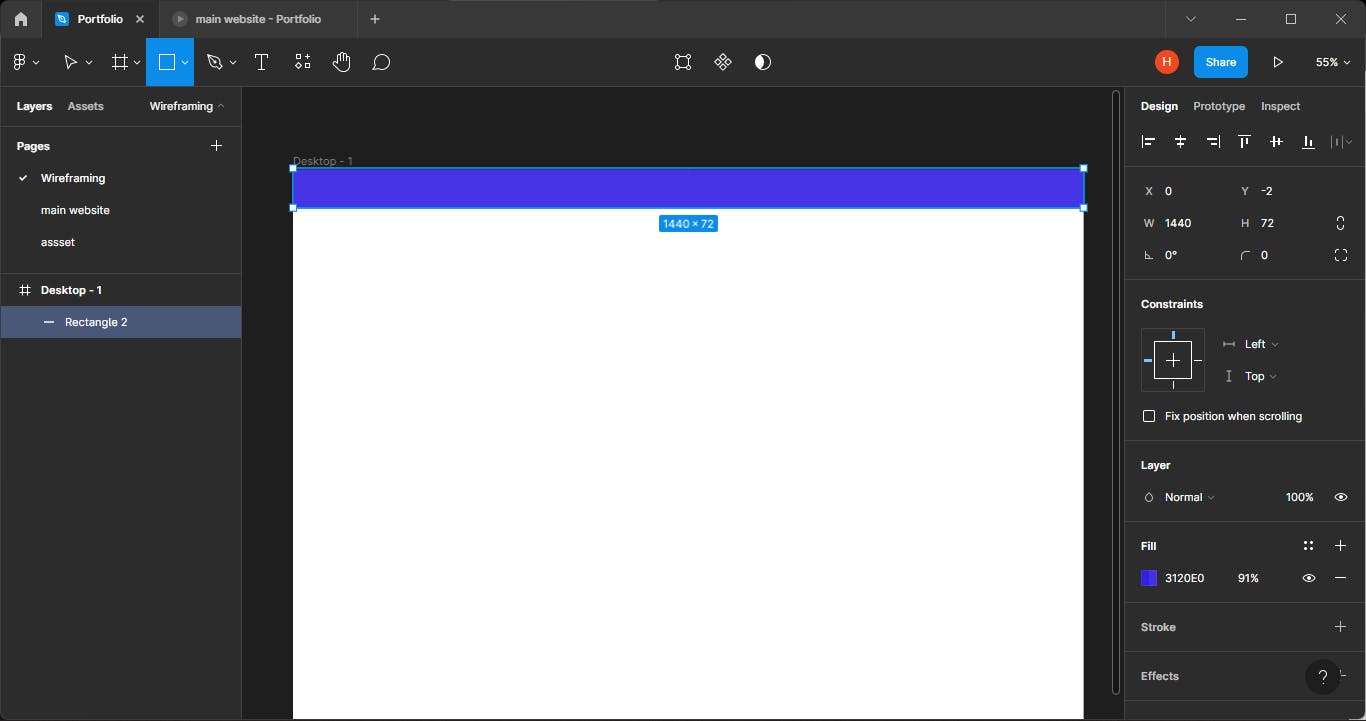
Step 3: Click on the rectangle
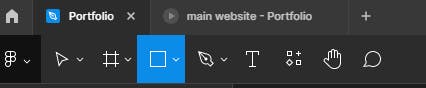
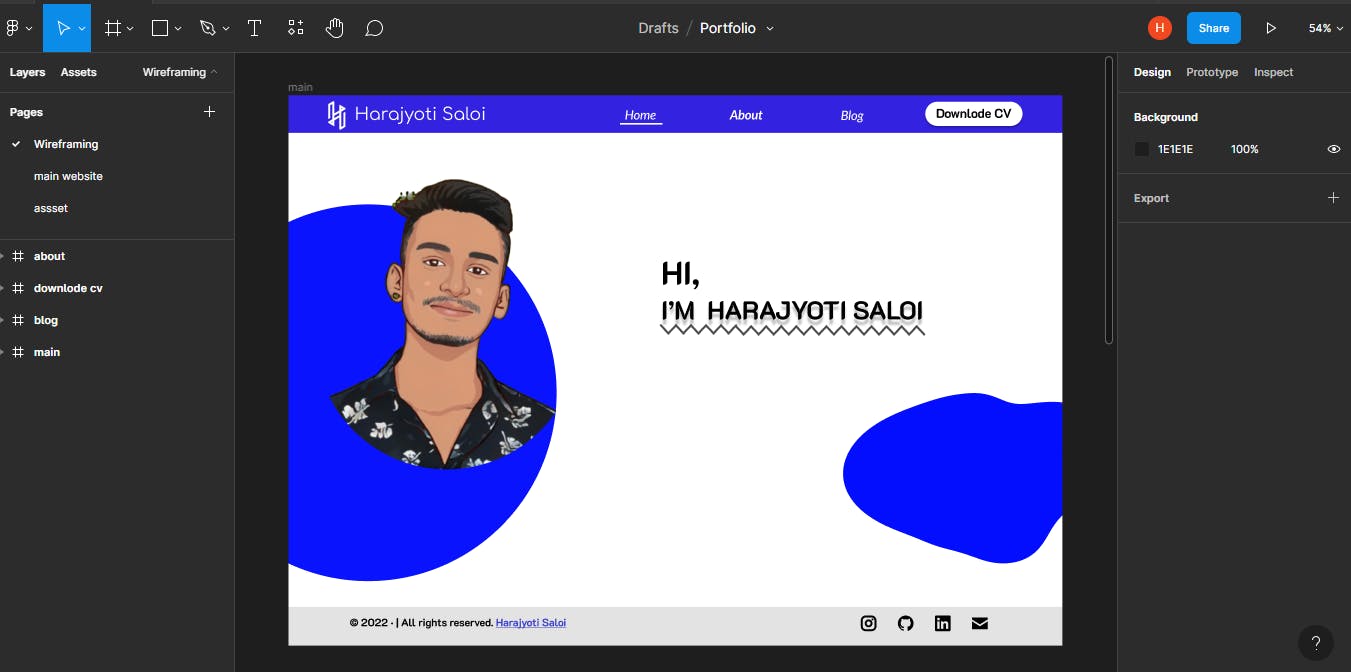
then, I make a rectangle according to my frame and color it blue and place it on top because I use this rectangle as a header.
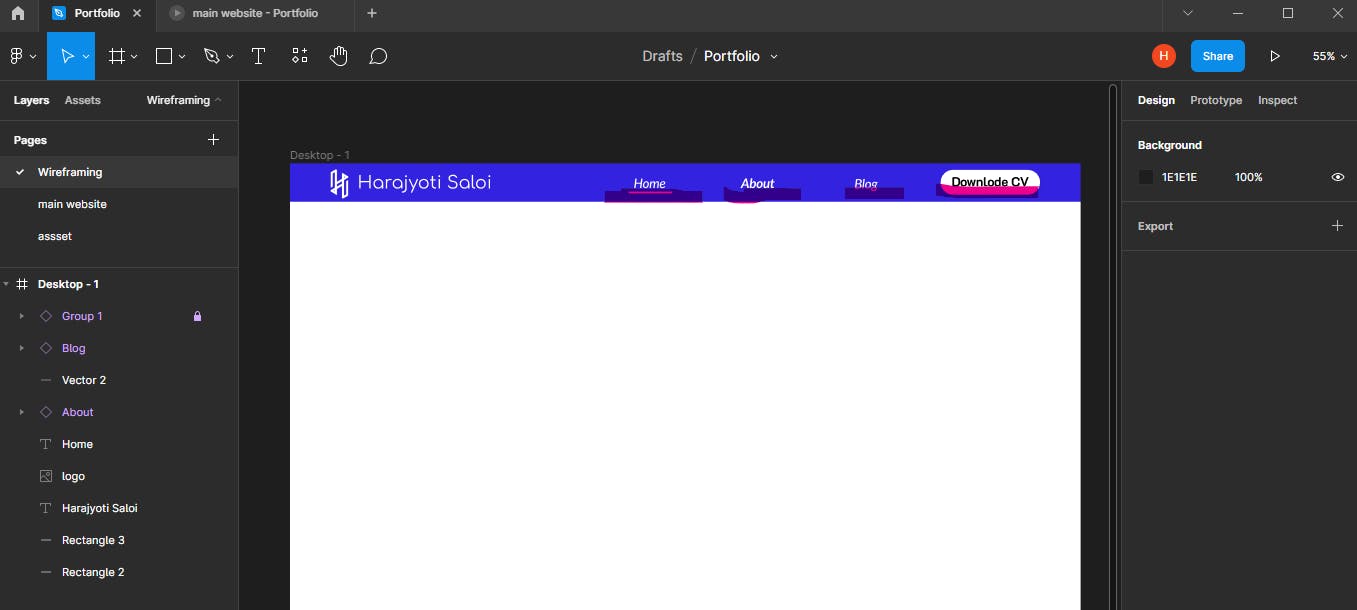
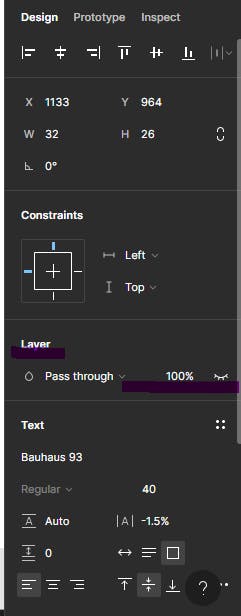
Step 3: add some text & logo.
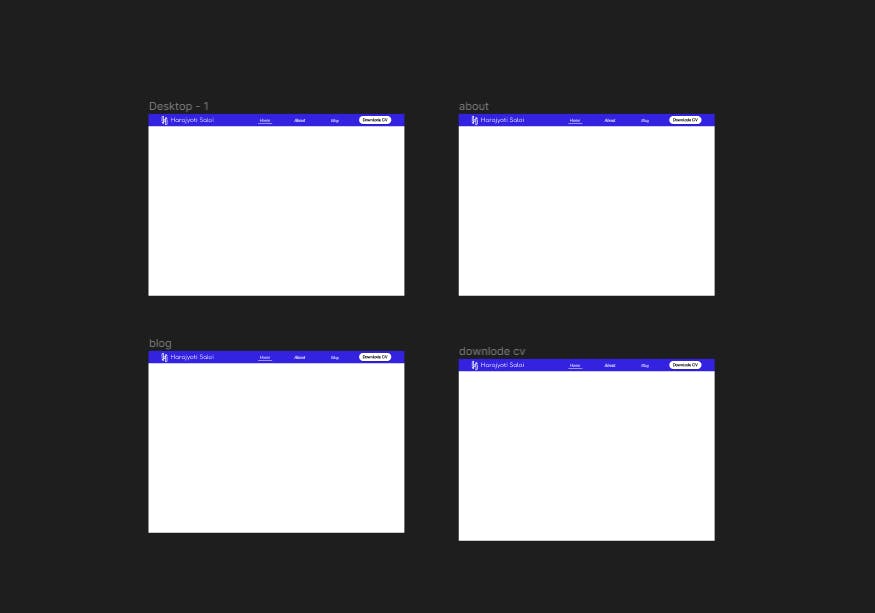
Step 4: make 3/4 frames according to your website like this
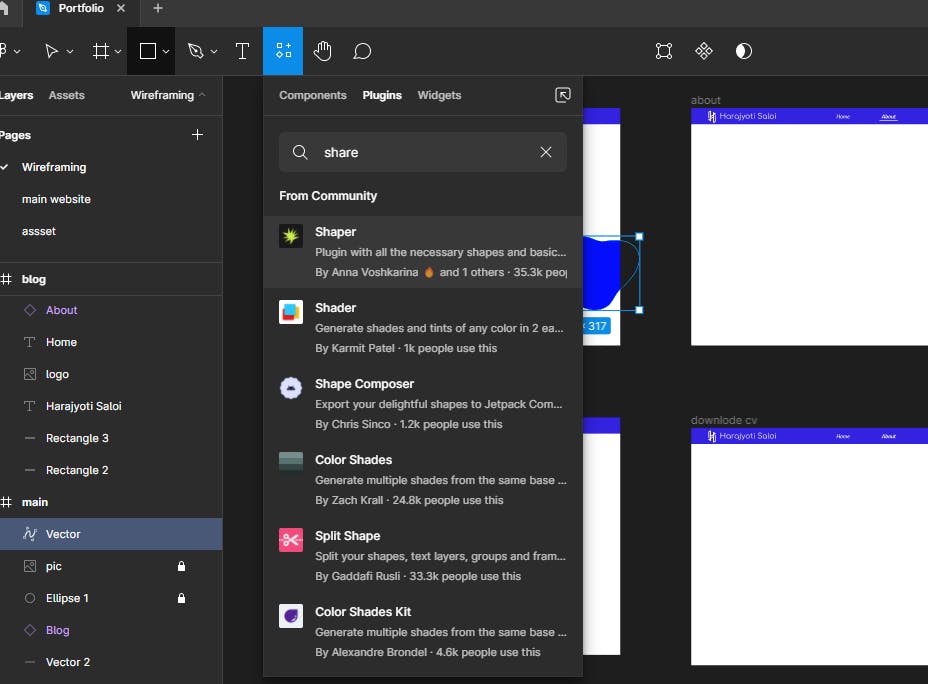
Step 5: add some vector art/shapes and a pic now I'm making a portfolio website so I add my pic and some shape using plugins now I'll show you how to add shapes using a plugin click on the button resource (short cut: shift+i ) then click on plugins then click on search and write shaper.
step 6: Add a footer using rectangles and some SVG/logo to look awesome. like this
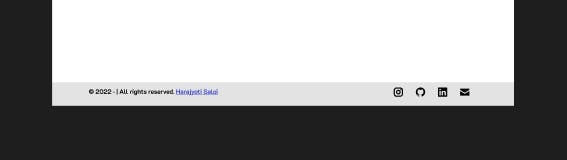
now I make hyperlinks for my social media icons for making hyperlinks follow this step step i: add a character over the logo. step ii: click on create link button(short cut: ctrl+k).
 step iii: now past your link
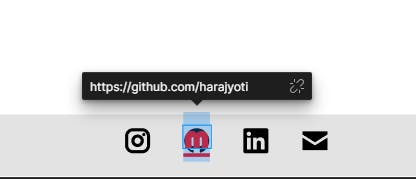
step iv: click on hide on your right
now we make our hyperlink
now my design looks like this
Step 7: now create your own design for other frames/pages as per your website categories.
now I will show you how to use the prototype
Step 8: click on the text/groups you wanna make clickable after selecting or clicking on the text then click on the component button (shortcut:ctrl+alt+k )

now click on the prototype on your right side then click on the show prototype setting

now link pages using prototype arrow
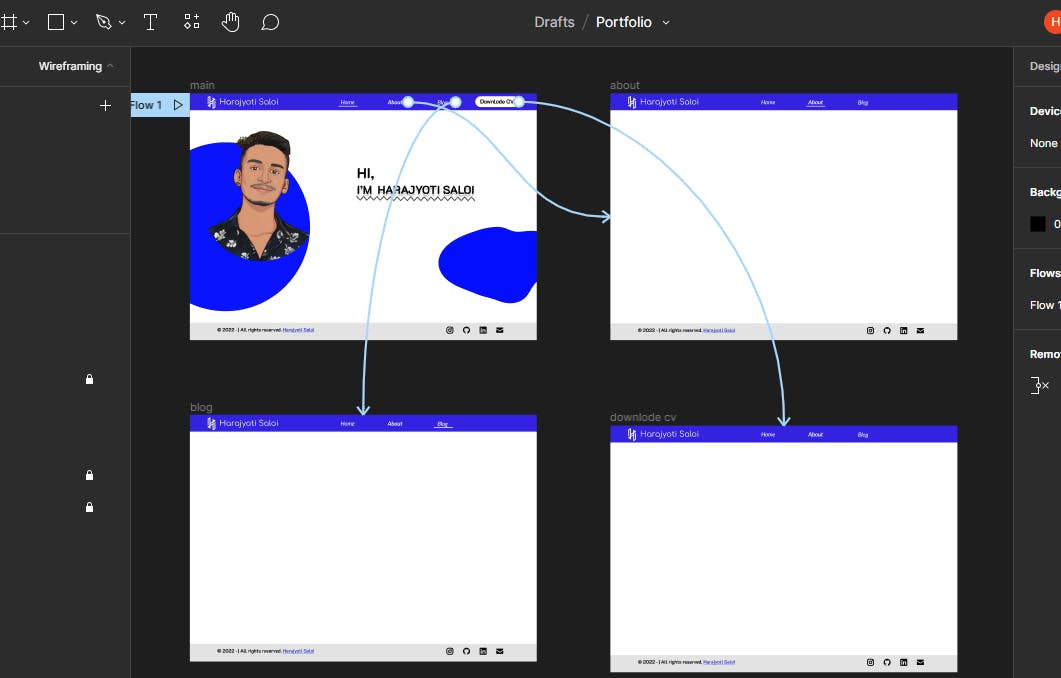
now every simple steps are complete to make a simple design using Figma
this is the first UI/UX design I make in Figma view